02 - Quadspinner Gaea
Quadspinner Gaea
Gaea advantages
Gaea is a landscape design program. It uses a node network to create, modify and export landscapes Its big strength is
- the ease of use compared to e.g. Houdini
- node base graph that resembles the Procedural Content Generation approach
- availability of a free community version that is limited in the size of height maps to export - download here
Current versions
- 1.3.2.7 is the current stable version (June 2024)
- 2.x is in development and will be release July 2024 - I will update all templates to version two as soon it's publically available
Recommended approach to use it:
- Download the free version of latest Gaea
- Download the template - version 1.x: https://bit.ly/Gaea_1_Template or version 2.x: https://bit.ly/Gaea_2_Template)
- Unzip, open Gaea and open the template terrain
Structure of the template
The template has several tabs that helps you to structure the graph. I will use the version 1 template for the screens below - the version two will have the same naming and process.
The Lithosphere tab
Here you model all your terrain with all erosions. It important that you leave alone the last three nodes:

- The yello "Chokepoint" bundles all your created nodes - connect your last node to it.
- The "Drop to floor" is a clamp node that makes sure the terrain is as close to the modelling floor as possible
- The "Lithosphere - Output" is a portal node. You can use these portals to refer to these endpoints on every other point of your graph.
For easy start, just click the provided "Mountain" node and change the Seed on the upper right details window.
The Hydrosphere tab
Here you model the lakes, sea or river nodes, also the Snowfall if needed.
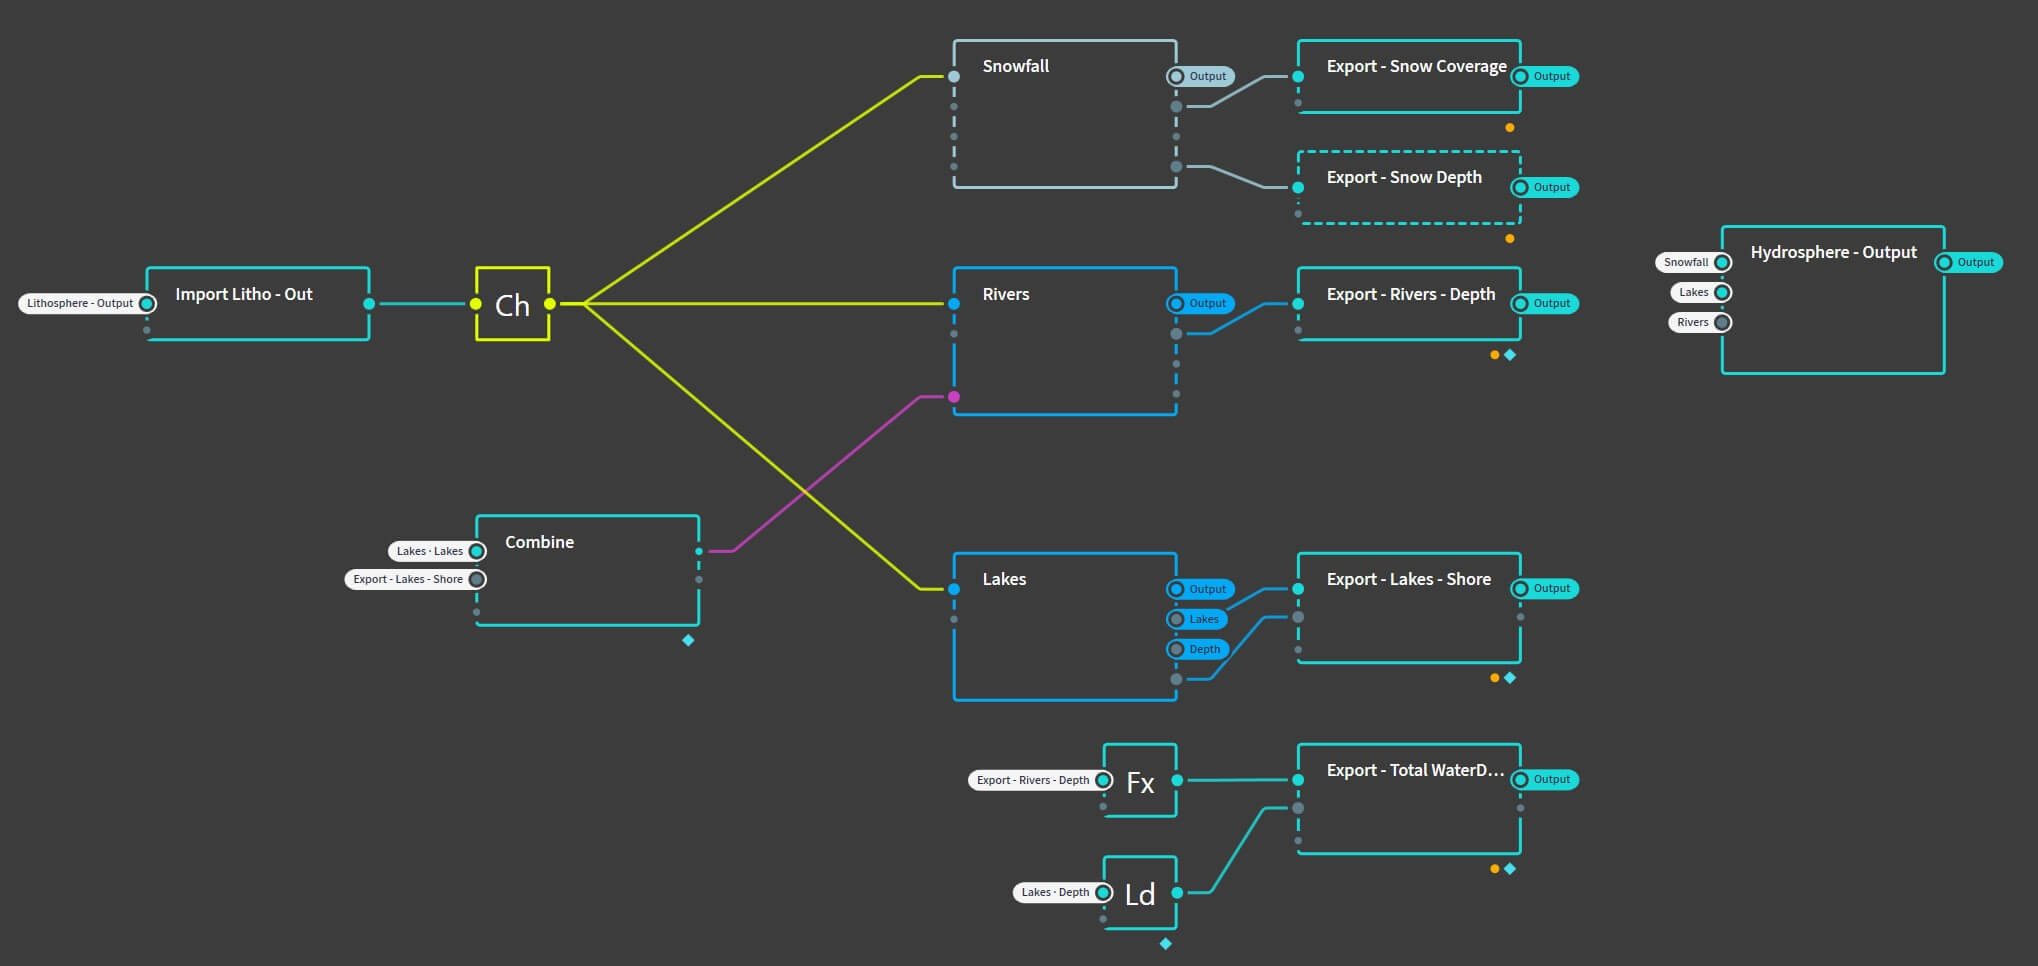 Important notes:
- The "Lithosphere - Out" portal is ingested at the start as this is the base for all water related nodes
- The water will influence the terrain - e.g. carving it with Rivers - and needs to have its own oputput node: "Hydrophere - Out"
- When importing, make sure to set these input and output nodes - especially when you dont work with the full template but with Graphlets (exports of single graphs instead of the whole project), you have to set them again
This "Hydrosphere - Out" is your final node to be used as height map in Unreal.
The Biosphere tab
 The Biosphere features several tree like nodes, that can represent either scrubs, conifers or broadleaf vegation.
These nodes add vegetation as geometry to the landscape! That is not something you want to use in Unreal, but its nice for rendering your landscape as 3D Map. So for Unreal imports, you want to use the "Hydrosphere - Out" as your final geometry output node. For Blender 3D Maps, you should use the "Biosphere - Out" as height map to have this added geometry available there.
The Export tab
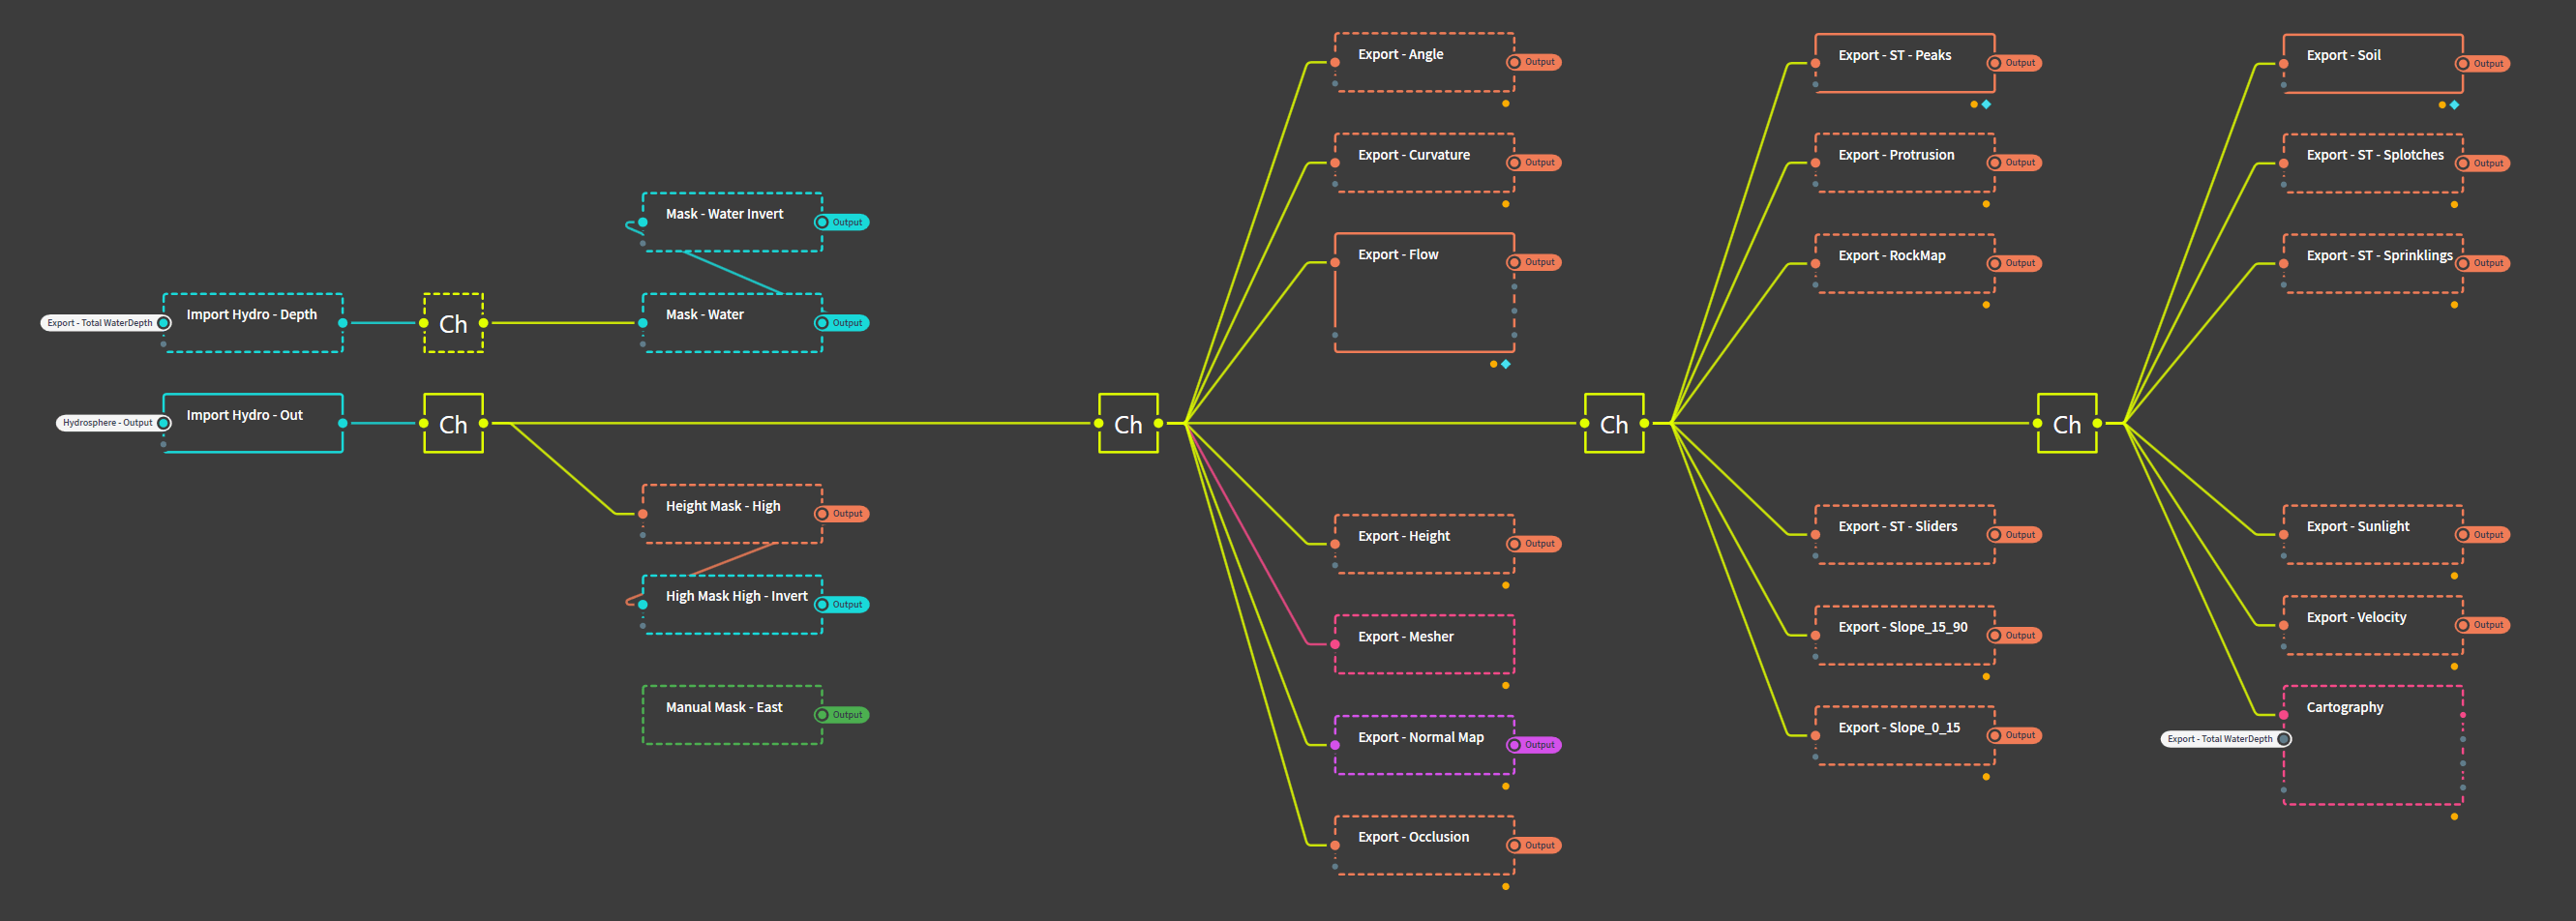 The export tab will take the "Hydrosphere - Out" as your final geometry portal input.
It will then go over many nodes from Gaea that are defined for outputting aspects of your geometry:
- "Data" category in Gaea 1.x
- "Derive" category in Gaea 2.x
Every node of the export tab is converted into a portal, as we want to use this data as mask for coloring our landscape within Gaea in the Color tab!
Here you can export masking maps to define things like flow, curvature, occlusion, normals, ...
The filter masks we will then later use to define Procedural content around them: Obvioudly, your water lillies and river pebbles should only be found on the shore of the rivers, exactly this map you can export here and use as landscape material layer later in Unreal.
The Color tab
This tab is importing all masks defined mostly in the Export tab and applies either static colors or satellite derived color patterns onto them. This is only used for coloring within Gaea to produce a convincing surface texture.
Texture node
First we create a Texture node based on the final output for coloring. This is our "Biosphere - Out" node as we want to color the additional geometry from the vegetation that we created there:

Coloring
The color process takes the current existing texture and adds a new color range to it, filtered by a mask.
The node connecting these is a Combine node. It is set to blend the new color with the existing texture, with the new color being up to 100% applied, overwriting the existing color on that masked area of the texture.

Think in layers here: Start with the masks that have the largest coverage (a lot of white and grey areas) as these will influence the whole map. If you apply them later in the process, you will overwrite finer structures. Finish with the masks covering the smallest areast (least amount of white or gray) to add finer details later in the process. An exception are all water based exports - Snow, water depth or water surface: This might cover large areas of your map, but will always overwrite the underlaying ground texture, so should be placed at the end of that chain.
The last node is your final surface textures. This is exported (press F3 to toggle export on anay node) and used as final surfacce texture in Blender for a 3D Map.
Export from Gaea
Height Map
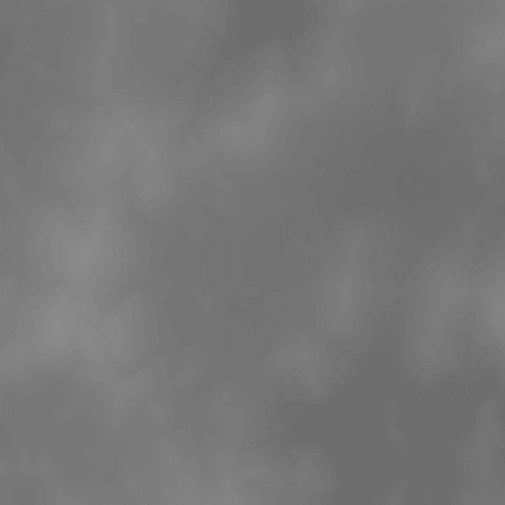
A Height Map is basically a greay scale image of your landscape with each gray value representing a height of your landscape.
The main height map will define your terrain evelations.
Landscape Parameters
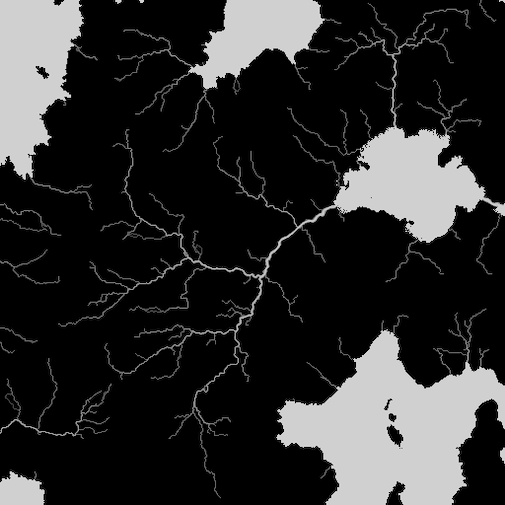
Then you can export many more parameters from Gaea acting as masks to your landscape. They are again grayscale and will provided
- white values show areas where some parameter - w.g. sediment - is active
- black areas show where the parameter is not active This gives you many structured maps from Gaea that can detail aspects like Water, Flow, Erosion, Sediment, Growth, Sunlight etc. to be used as information to content generation later.
The image above shows the water surface of the landscape.
Surface texture
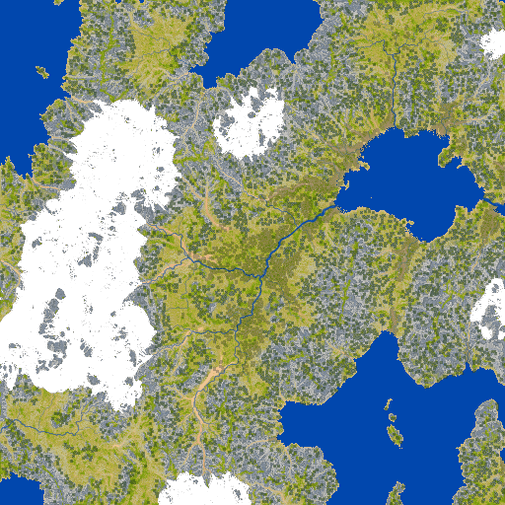
This is your map for coloring the surface. You normally would not need that in Unreal, but we will use it to color our 3D Map in Blender
Links
All assets used in the series are downloadable from https://bit.ly/Landscapes101. A video playlist (german version) is available to organize all tutorials. Everything demonstrated in the video series can be downloaded from https://bit.ly/Landscapes101. To mirror GDrive folders to your local drive, you can use this script!